DIY Tree and Shrub Transplanting Tips and Precautions
PUBLISHED ON
SHARE THIS ARTICLE
Transplanting a tree or shrub from one location to another may seem like a simple enough task but, in reality, it's a delicate procedure that can heavily influence the plant's health and future growth.
As any gardening enthusiast or homeowner knows, trees and shrubs are more than just decorative properties; they're living organisms that represent an investment of time, energy, and sometimes, sentiment. That's why understanding the process of transplantation is so crucial—to ensure the transition is as smooth and successful as possible.
Whether you're looking to enhance your landscape, save a beloved tree from a construction site, or simply experiment with improving your garden, learning the art of transplanting can be rewarding.
Today, we'll walk you through the process step-by-step, with a focus on knowledge that empowers you to engage confidently in
DIY tree and shrub transplantation.
Preparing for a Successful Transplant
Assessing Health and Conditions
Before you dig up a tree or shrub, it's imperative to evaluate its health. Look for signs of poor health such as loss of leaves, stunted growth, or discoloration. If you spot any of these symptoms, it might be better to leave the plant in its current environment.
Moreover, consider the move if the plant is in its dormant stage without leaves, reducing the shock from the transplant.
Timing Is Everything
The timing of your tree or shrub's relocation can determine its long-term survival. Late fall or early spring, when the plant is dormant, are generally recommended as the best times to transplant. This minimizes trauma to the plant, as it can dedicate energy to root growth without producing new foliage simultaneously.
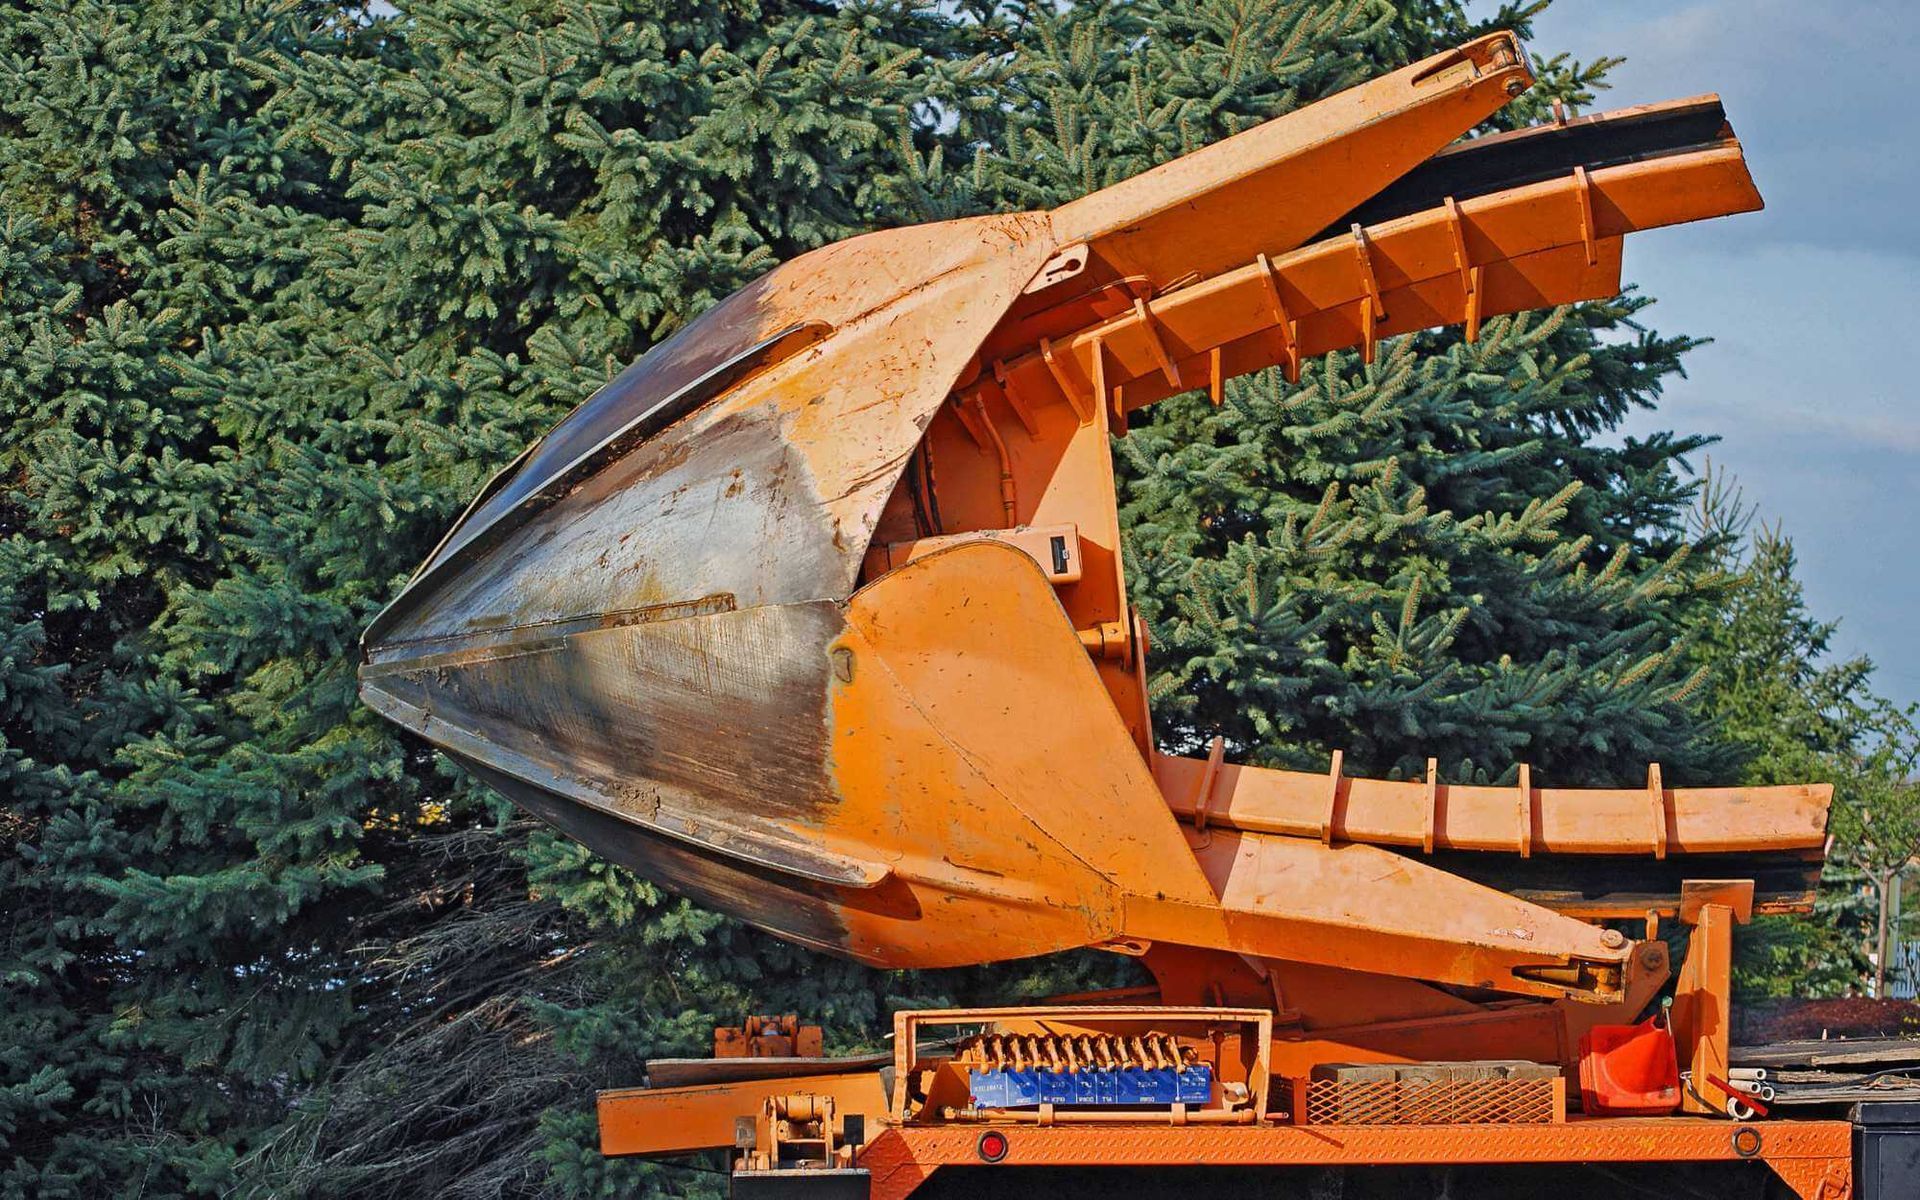
The Right Tools for the Job
Prepare a designated set of tools specifically for the transplantation. This may include a sharp spade, pruning shears, burlap for balling, organic mulch, and a source of water post-transplant. The right tools can make the process more efficient and less stressful for the plant.
The Tree Transplanting Process
Step-by-Step Guide
Step 1: Plan the Move
Decide where the transplant will go and dig a new hole before you start. It's best to move the tree and immediately reposition it in its new home to reduce the time its roots are exposed to the elements.
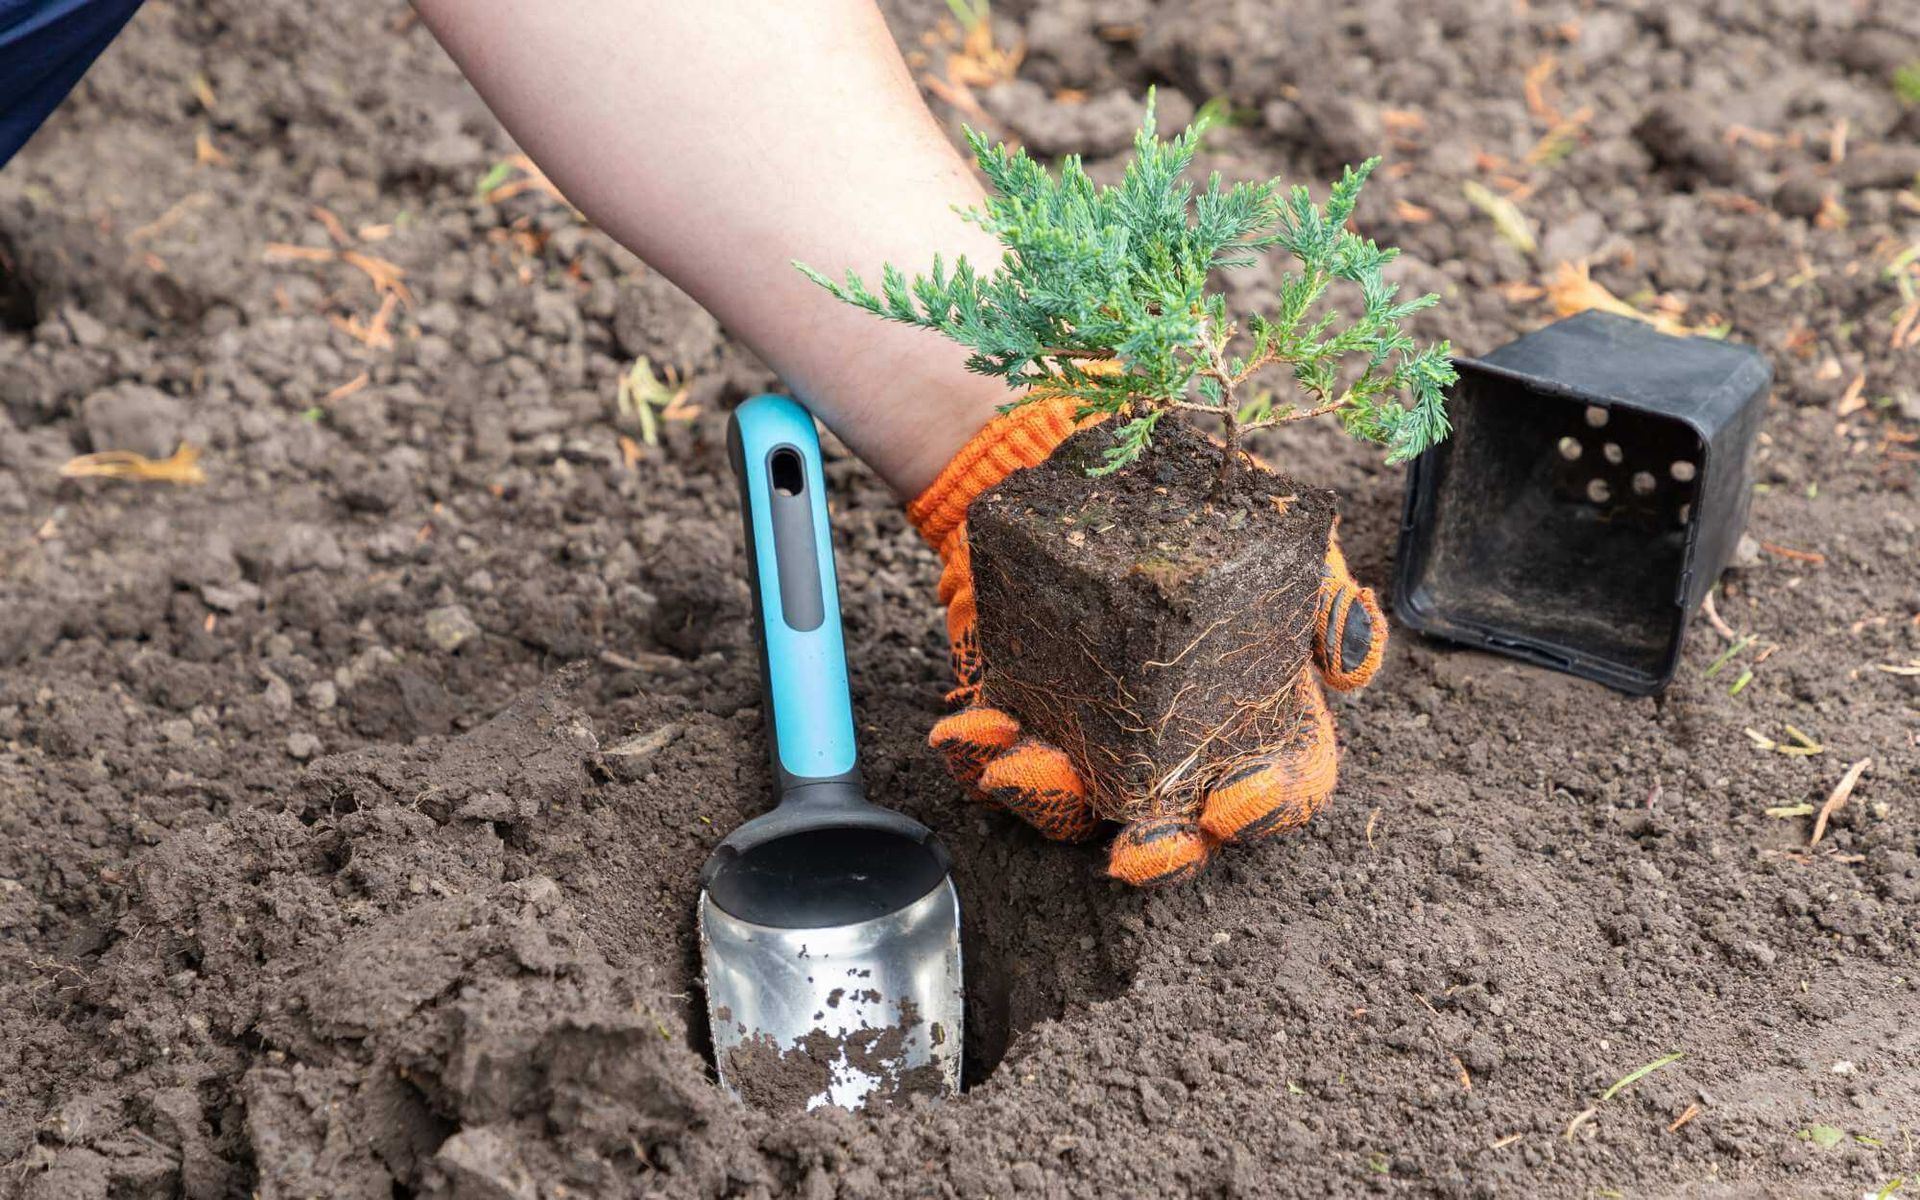
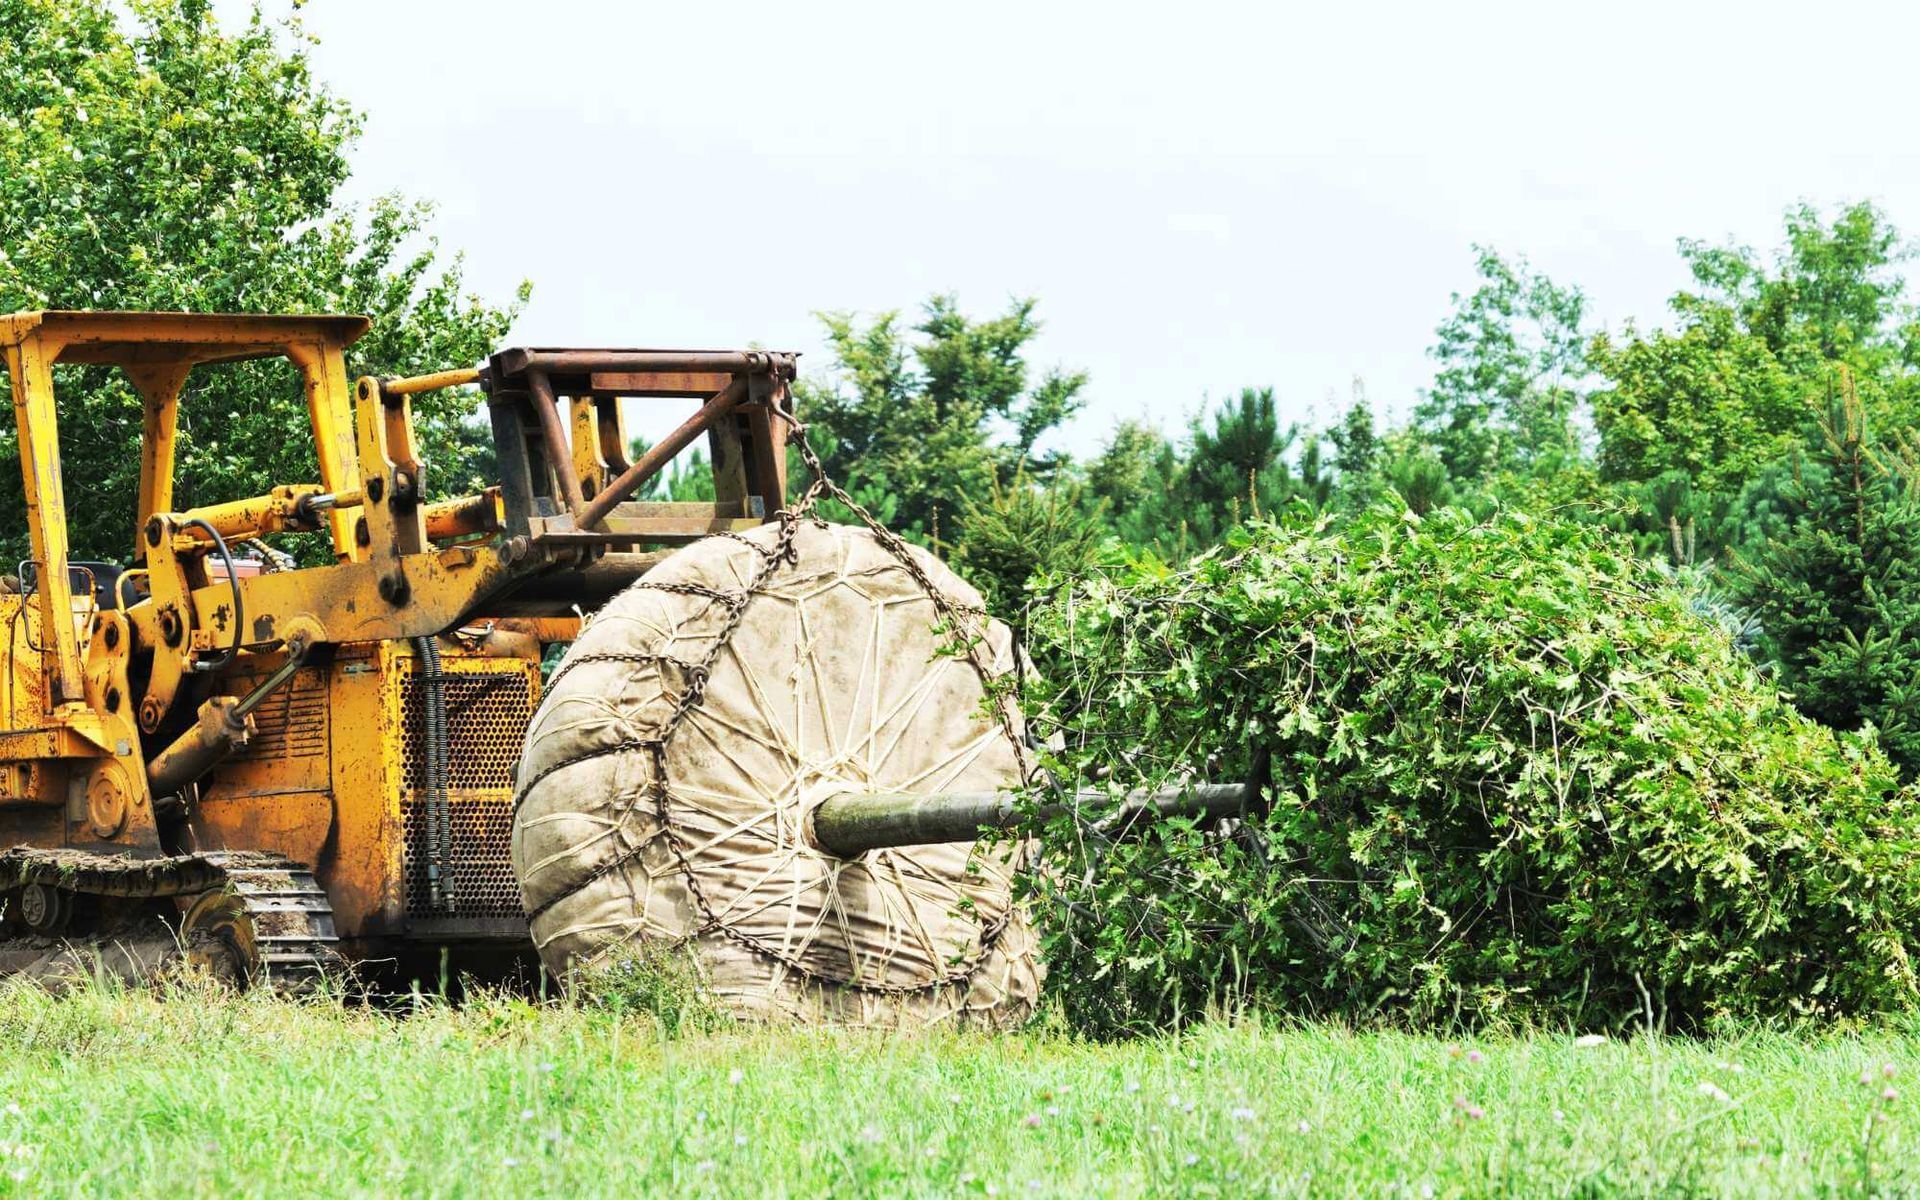
Step 2: Root Ball Preparation
Start by digging a hole around the tree perimeter. For each inch of trunk diameter, the root ball should be 10-12 inches wide. When you have dug the right-sized trench, undercut the root ball, gently levering the tree to sever the roots below.
Step 3: Lift and Transplant
Once the root ball is properly prepared, carefully lift the tree and place it in the new hole. Ensure the tree is level and at the appropriate depth. Fill the hole halfway with soil, and water to settle, and then finish filling the hole.
Proper Techniques
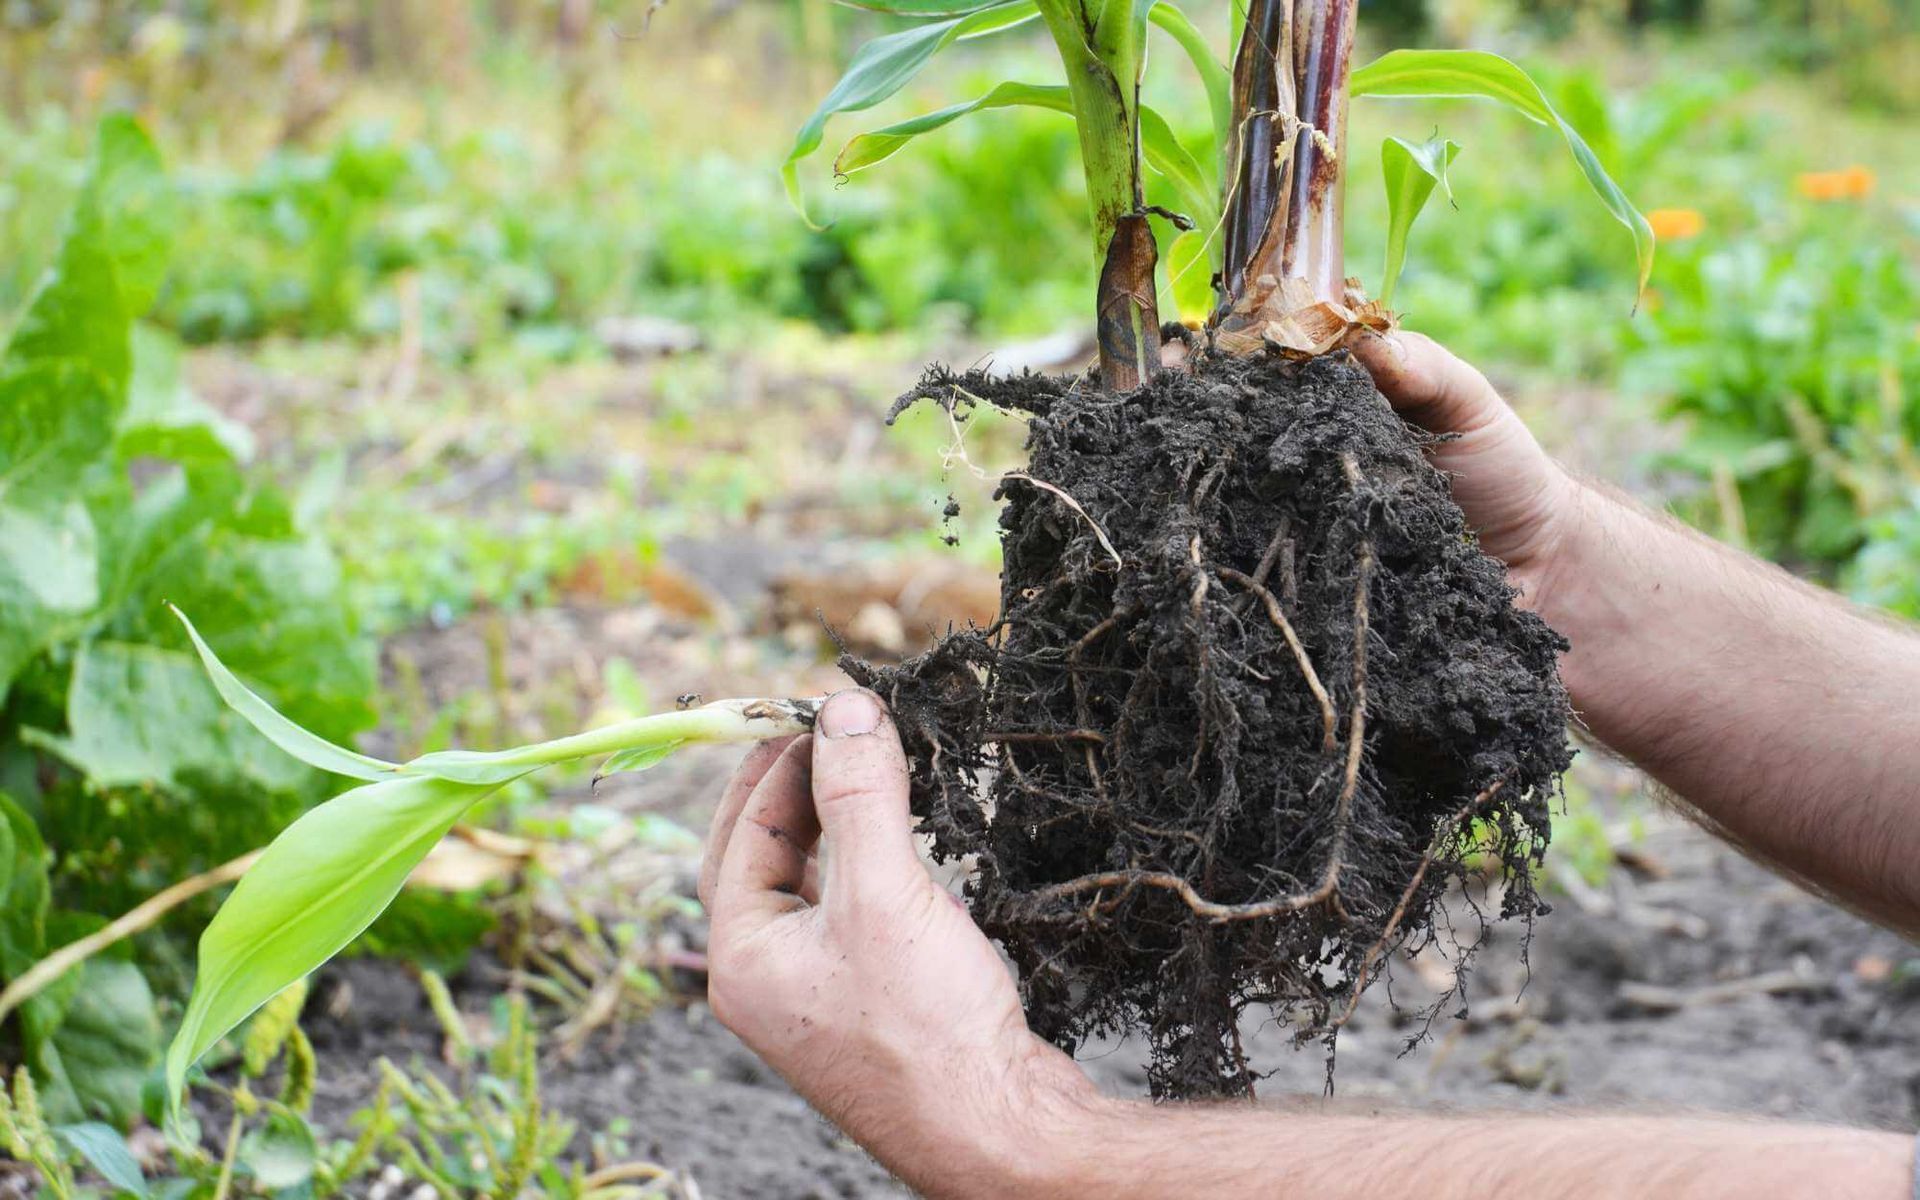
When digging a trench, start from the outermost edge of the previously watered root zone. This will ensure you capture as many of the fine roots as possible. Lift the plant by the root ball, never by the trunk to avoid causing damage. Use clean, sterile tools and make clean cuts when pruning roots or branches that won't be needed.
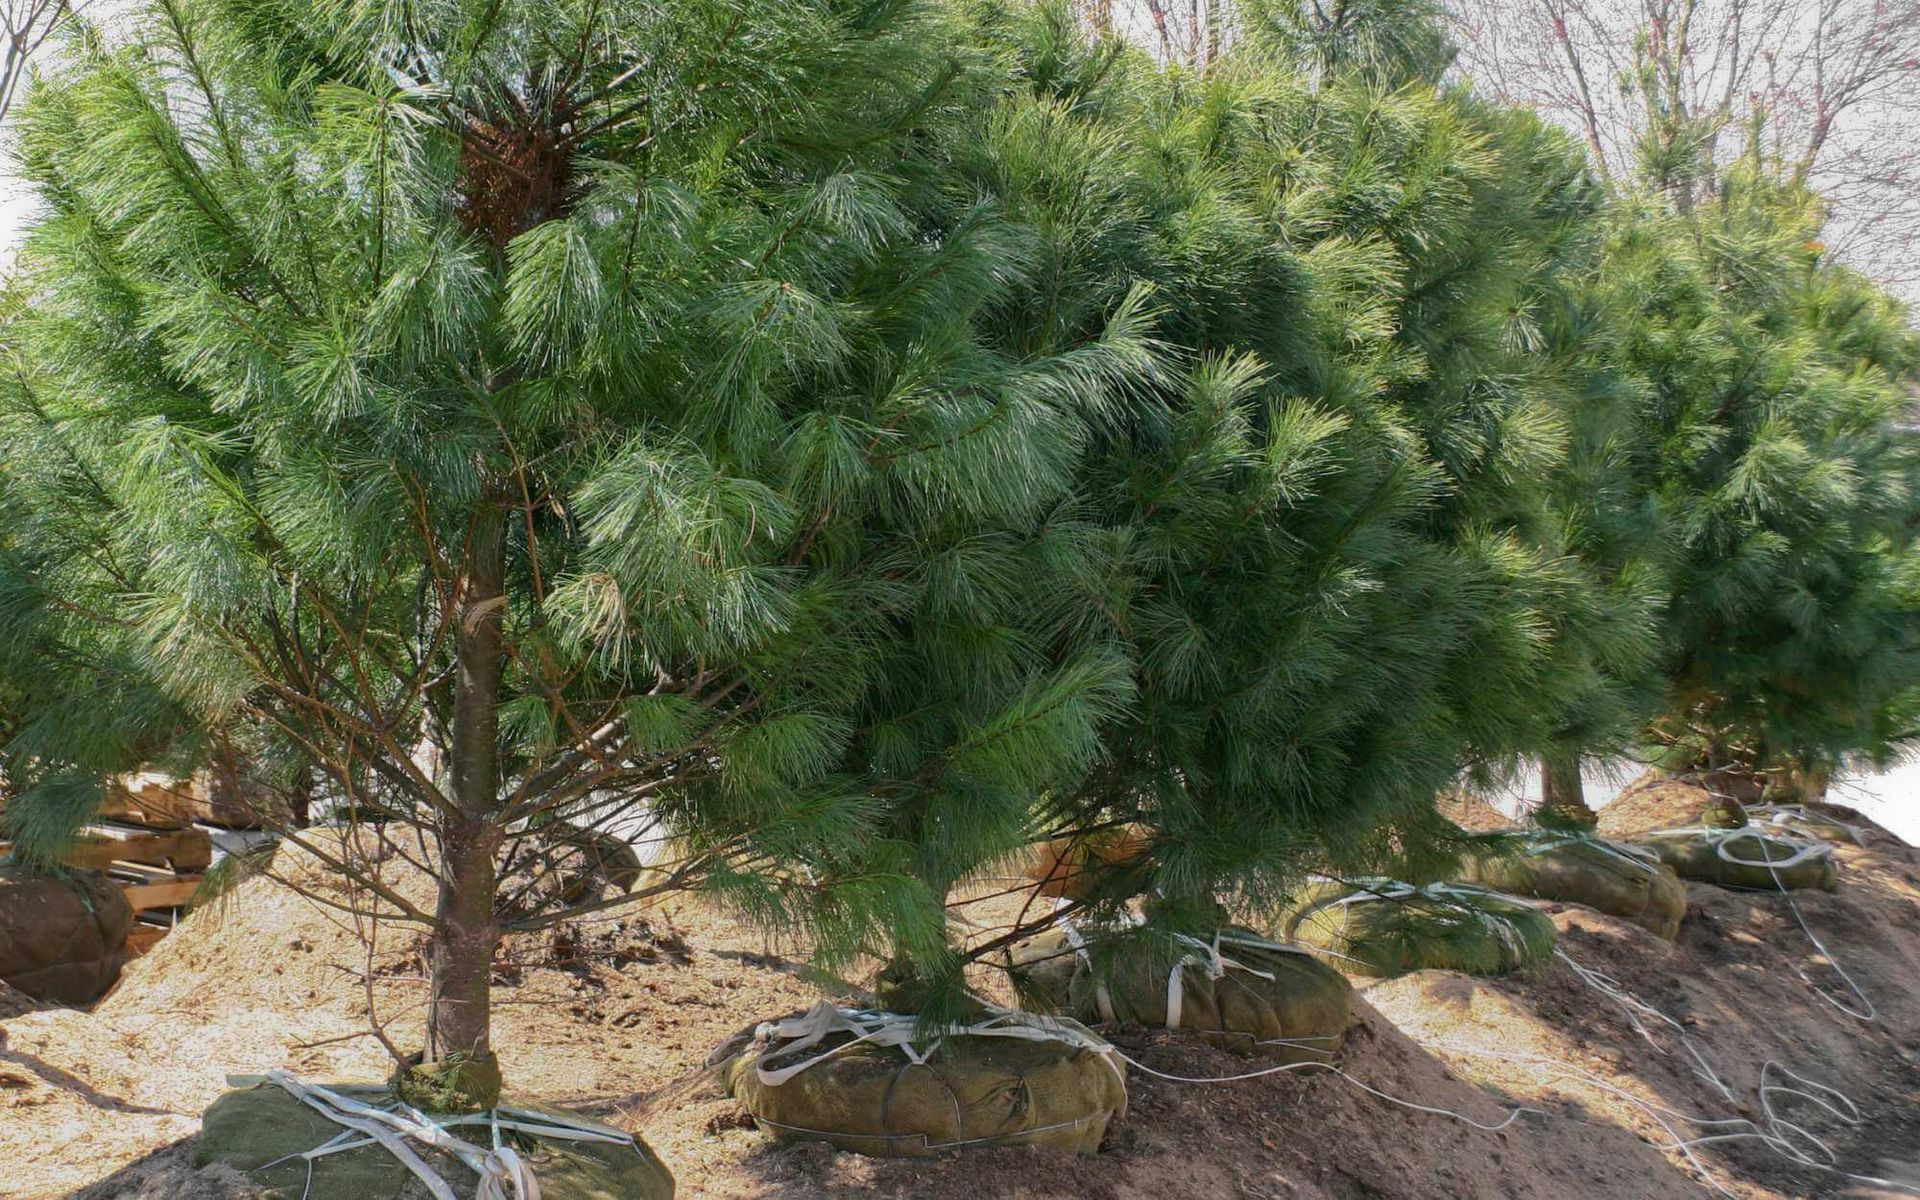
Ensuring Root Ball Preservation and Irrigation
Once lifted, the root ball must stay intact. Keep it moist and wrapped in burlap or a similar material until the plant is replanted. Ensure the soil in the new location is damp but not waterlogged. After planting, water the tree thoroughly to settle the soil and remove air pockets.
Precautions and Considerations
Understanding Species Needs
Different trees and shrubs have varied needs. Understand the requirements of the particular species you're transplanting and cater to them. For example, some may be more adaptable to soil types while others could require specific conditions for stabilization.
Risk Management
Transplantation involves several risks such as damage to the root system, drought stress, and changes in the environment. Identify potential risks before you begin and plan accordingly. For instance, if your area is prone to hot, dry weather, consider the appropriate time to plant so the tree can establish itself before conditions become too harsh.
Minimizing Stress
There are several strategies to diminish the stress associated with transplantation. This includes choosing the least traumatic time, adequately preparing the plant and the site, handling the tree or shrub with caution, and providing the right aftercare.
Aftercare and Maintenance
Proper watering is crucial after transplanting to prevent water stress due to shock. Establish a regular watering schedule for the first year. Use fertilizers sparingly, if at all, as the focus should be on root development rather than excessive top growth.
Monitor the plant closely for signs of stress, such as wilting, yellowing leaves, or dieback. Timely intervention can often resolve these issues.
Taking care of a transplanted tree is a long-term commitment. Apply mulch around the base to retain moisture and regulate soil temperature. Regularly inspect the plant for health and growth, adjusting the care routine as needed.
Digging In
The benefits of successful tree and shrub transplanting are numerous, from saving cherished plants to reshaping your landscape. By following the outlined tips and precautions, even the most novice DIY gardener can undertake this task with confidence.
Remember that patience and attentiveness are key ingredients to a successful transplant. The time and knowledge invested in each tree or shrub's relocation pay off in green every time you witness a thriving transplant take root in its new home.
If you need help or are unsure about any step in the process, don't hesitate to reach out to our
ISA-certified arborists for guidance.
Want a free quote or some friendly advice? Call our team today:
More Posts From The Real Tree Blog: